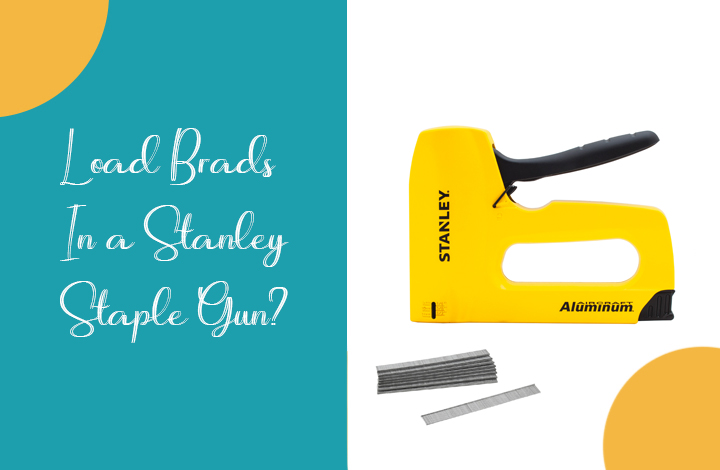
Stanley staple gun is a two-in-one electric staple gun that can be used if you have different projects. The tool functions as a staple gun that uses heavy-duty staples. Also, it can be used as a nail gun. It uses ½ inch, 9/16 inch, or 5/5 inch brads. The Stanley staple gun has an extension cord that is 8 foot long as well as an anti-jam feature that helps to save time and frustration when you are using it.
To install brads in a Stanley staple gun is not a difficult task. Here are the steps that you need to follow:
Step 1
Unplug the code of the Stanley staple gun from the electrical socket to prevent accidents. The staple gun can accidentally discharge brads, which can cause injuries to the user.
Step 2
Move the trigger lock to be in the locked position. This is done by sliding the trigger towards the rear of the staple gun. The lock is positioned on the right side of the electric staple gun.
Step 3
Turn the staple gun upside down. Ensure that the front of the staple gun is facing towards you. Hold the bottom of the staple gun using one hand and pull up on it to ensure that you open the loading compartment.
Step 4

Tilt the staple gun towards you at a slight angle and place the brads into the loading compartment. Ensure that the points of the brads are facing upward. Also, ensure that all brads slide to the front of the staple gun. If the brads do not slide to the front of the device, tilt the staple gun at a sharper angle.
Step 5
Release the bottom of the staple gun slowly to ensure that the loading compartment is closed. Ensure that the brads do not fall over to the right or left as you are closing the loading compartment.
Step 6
Test the staple gun with two brads to ascertain the firing is okay. If the staple gun is jammed or there is misfiring, repeat the steps above to ascertain that you have loaded the staple gun effectively. Also, it is important to ensure that you use low/high power when you are driving brads.
Note: When you are using staples or nails on a Stanley staple gun, ensure that the on/off switch is in the off position and plug stapling tacker in. The on the switch should be turned to position 1 and ought to be held firmly against the work surface to ensure there is the engagement of the safety mechanism. Lastly, apply adequate pressure on the top of the knob while pulling the trigger.
Instructions to be followed
It is important to follow the instructions below to prevent cases of electric shock, misfiring, and causing serious injury to the user:
i. Work area
- Ensure that your working area is clean with enough light. Working areas that are cluttered and dark is a way of inviting accidents
- You should not operate in an atmosphere that is explosive. This is to means that where you are operating the tool should be free of flammable gases, liquids, or dust. Power tools tend to create sparks and this can cause the ignition of fumes or dust
- Ensure that children, visitors, and bystanders are kept away while you operate this power tool. Distractions can lead to the user losing control, and this can cause accidents

ii. Electrical safety
- Tools with double insulation are equipped with a polarized tool, which means that one blade is wider compared to the other. This plug fits in a polarized outlet only one way. If the plug fails to fit fully in the outlet, you ought to reverse the plug. However, if the plug still fails to fit, ensure that you contact a qualified electrician for the installation of a polarized outlet. Do not change the plug at all. Double insulation helps to eliminate the need for the three-wire grounded power cord and grounded power supply system
- Ensure that you avoid any body contact with grounded surfaces such as refrigerators, ranges, pipes, and radiators. This is because contact increases the risk of electric shock if the body is grounded
- Do not expose any power tool to rain or wet conditions. If water or moisture enters power tools, this increases the risk of electric shock.
- You should not abuse the cord. This means that you should not use the cord to carry the tools or plug from an outlet. Ensure that the cord is away from oil, heat, moving parts, and sharp edges. Make sure that damaged cords are immediately replaced as this increase the risk of electric shock
- When you are operating a power tool, ensure that you use an outdoor extension that is marked “W” or “W-A.” These are the cords that are rated to be used outdoors and they help to reduce risks of electric shock.
Final Thoughts
You can either use staples or nails with a Stanley staple gun. This article has information on the steps you need to follow while loading brads in a Stanley staple gun. Additionally, it contains precautionary measures to prevent electrical shock to the user.
Leave a Reply